Meet Lulzbot Mini
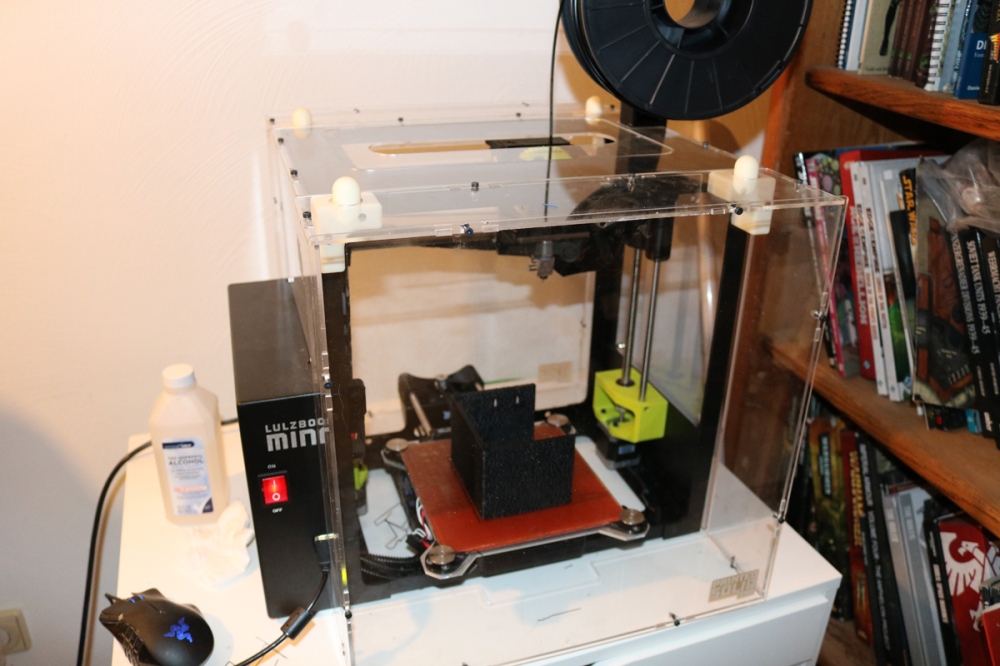
The mini was reviewed as a intermediate level printer, but an easy learning curve. I try not to spend money on simple devices knowing full well I would upgrade in the near future. So we got this one from Amazon for $1250 USD. Of course I had to buy a bunch of filament for about $30 per spool.
I was able to run the mini and print several 15mm tanks for flames of war. Thingiverse has quite a number of excellent designers and designs. m_bergman has a number of 1:100 1:200 scale vehicles. They match well with Flames of War.

")
")
")
")
- Honey Stuart tanks
- Trucks including a fuel truck. I gave away my ambulance
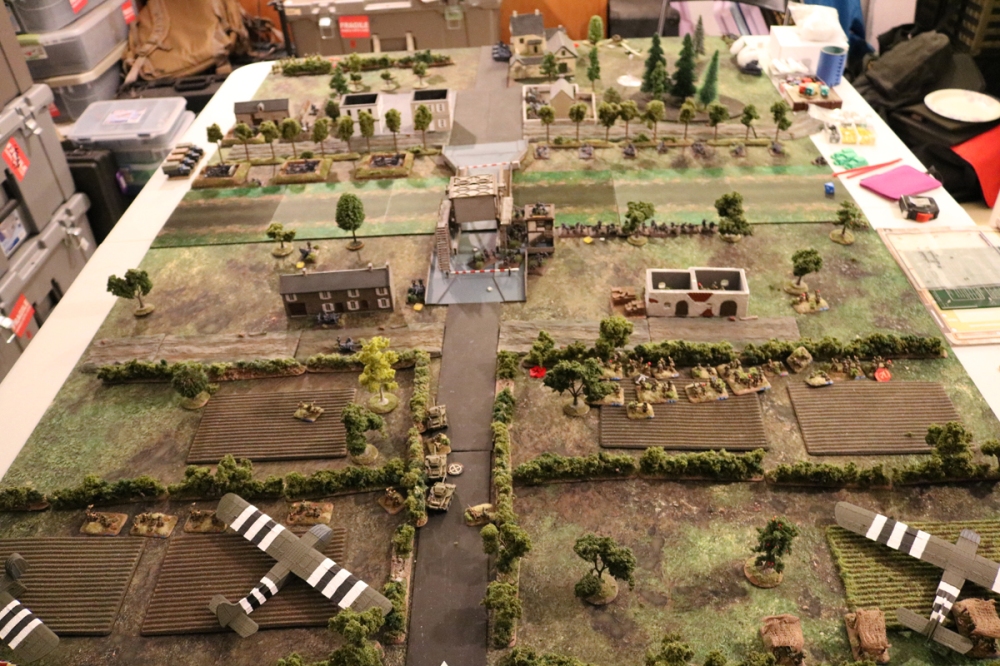
- Waco Glider
- British LCMs
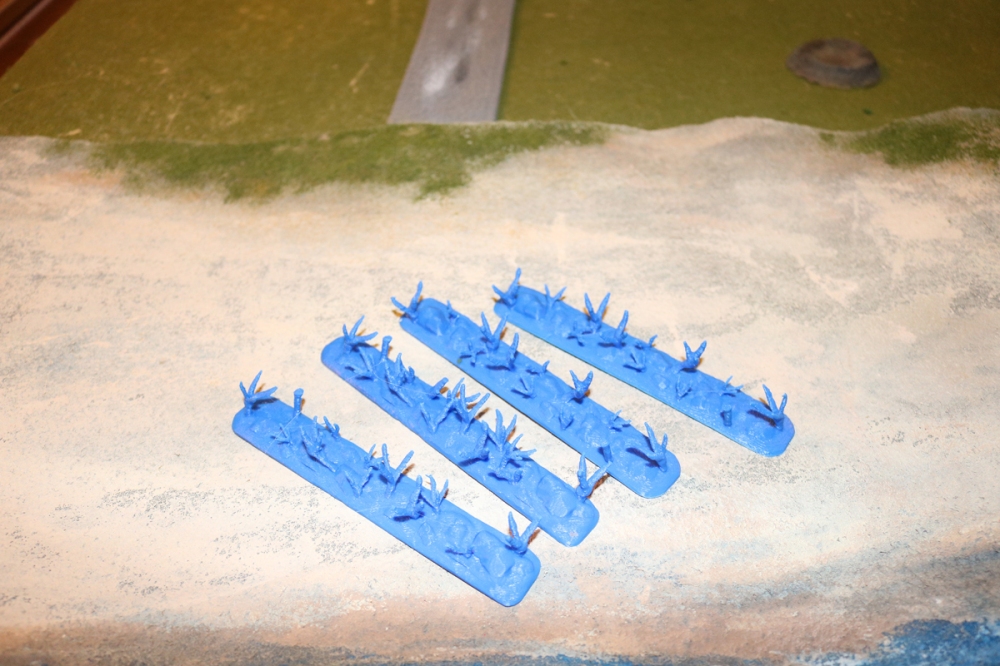
The gliders can be seen in my Pegasus bridge battle with hedges that I printed. The hedge consisted of a base and the branches
Then I found Printable Scenery and their Historical Kickstarter for Europe, Medieval, and Early America. I only picked the Europe and Medieval one and I am still kicking my ass today. The Americans provide wild west and Caribbean buildings.

I gotten numerous models from them, that I havent had time to print even a small fraction. I have been able to print the hedges above, a castle, tavern, house, and viking boat.
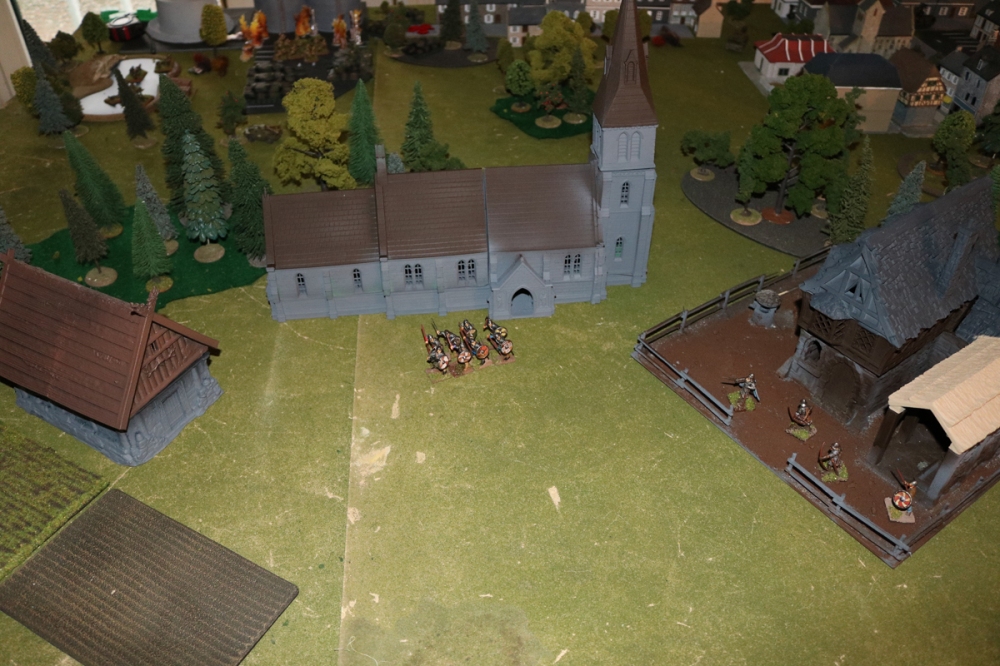
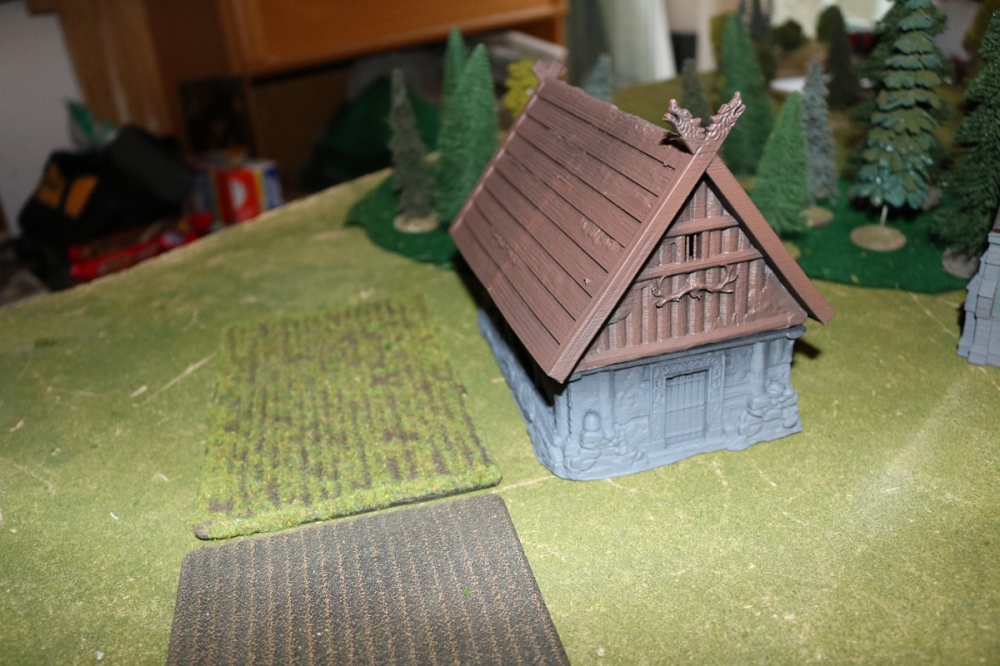
A scenic display of buildings printed
The Barbarian house:
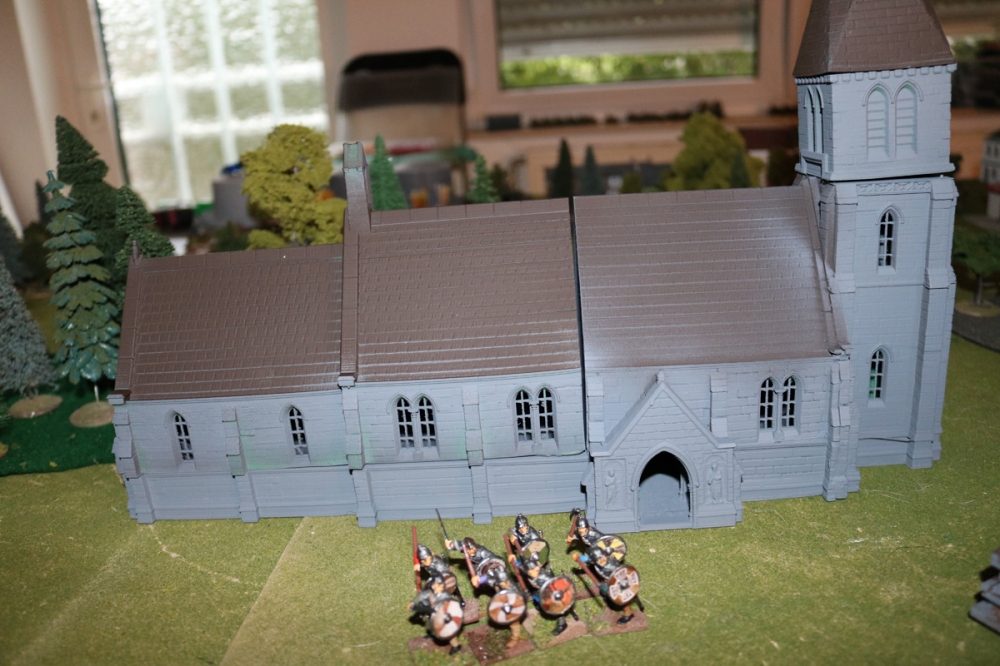
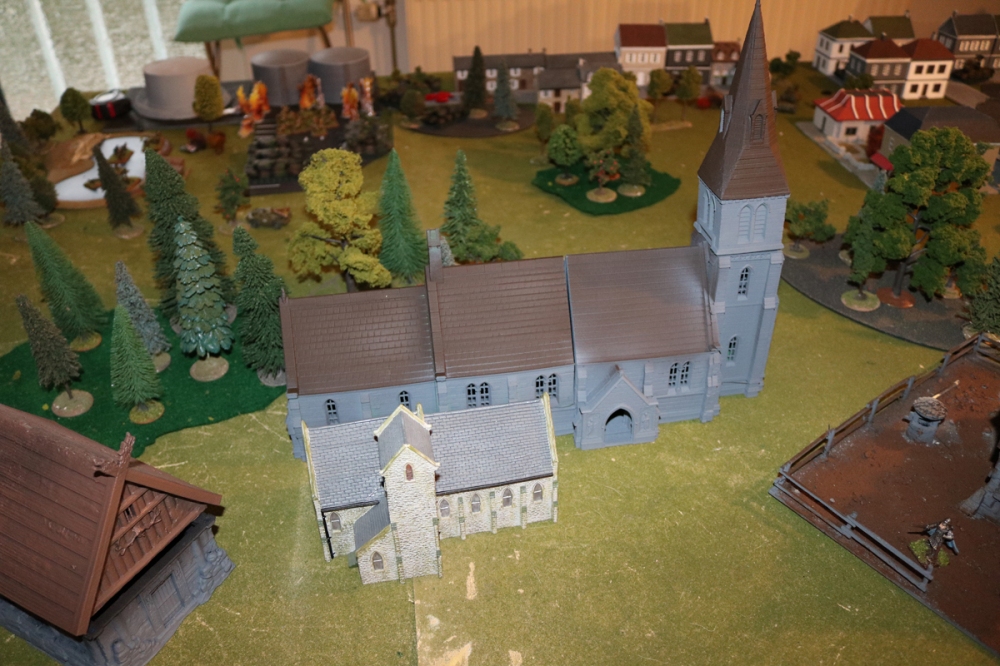
The Medieval Church ( I have only base coated it with spray paint)
The Tavern


")
")
")
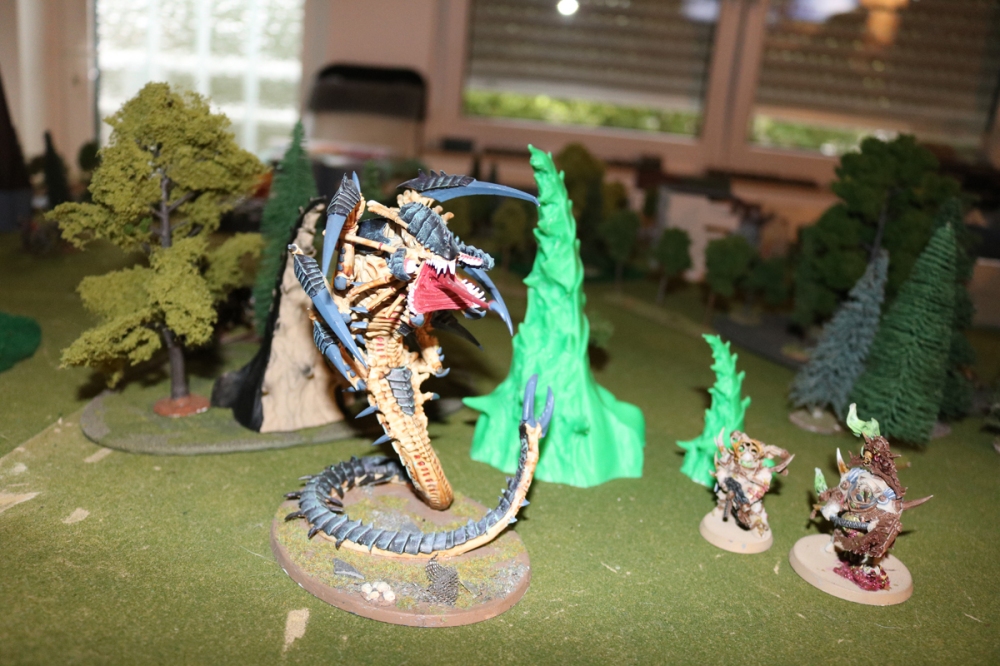
Tyranid inspired spires
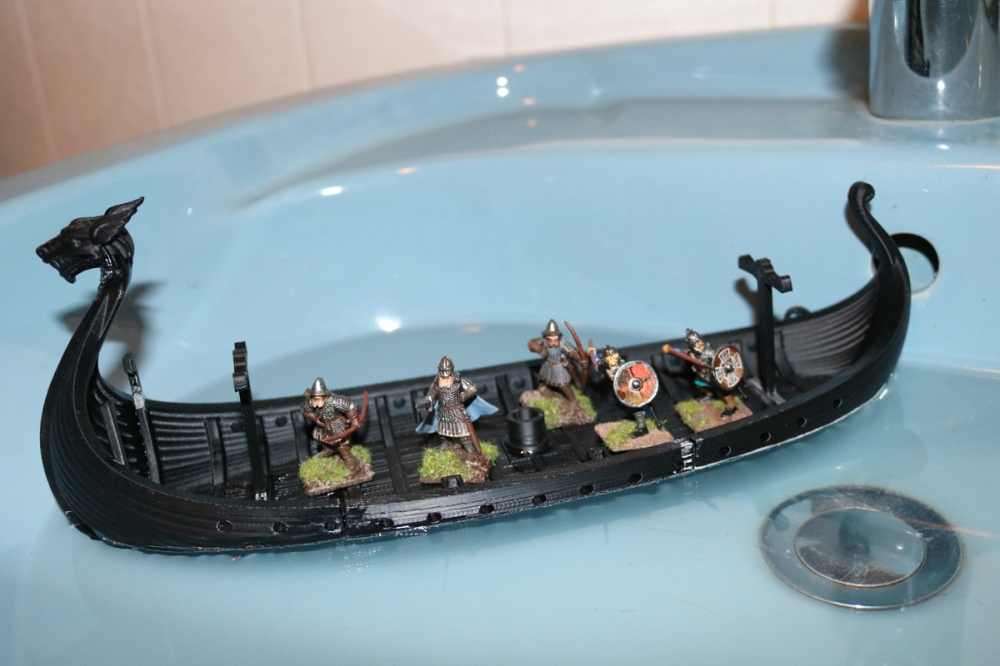
A viking boat
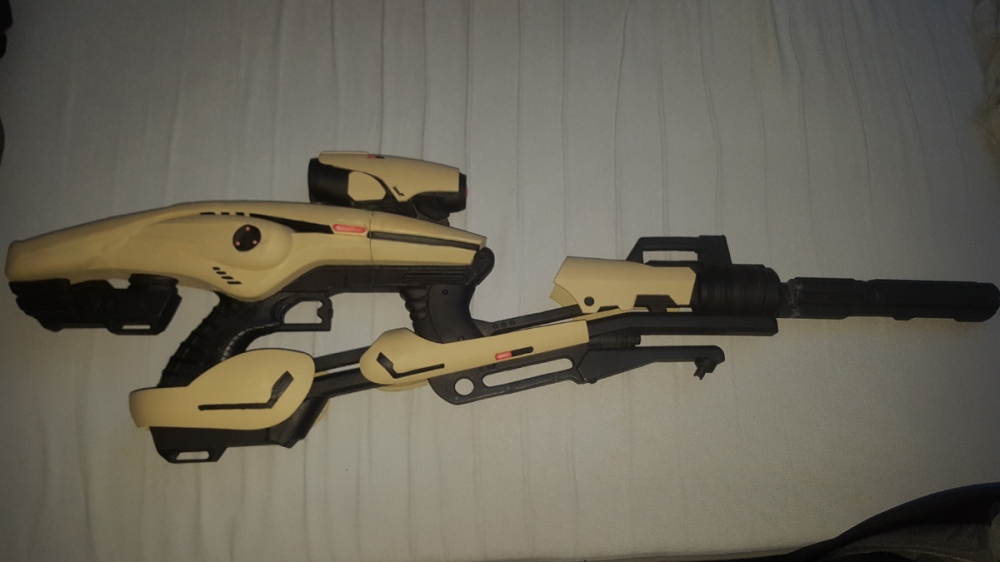
A destiny gun
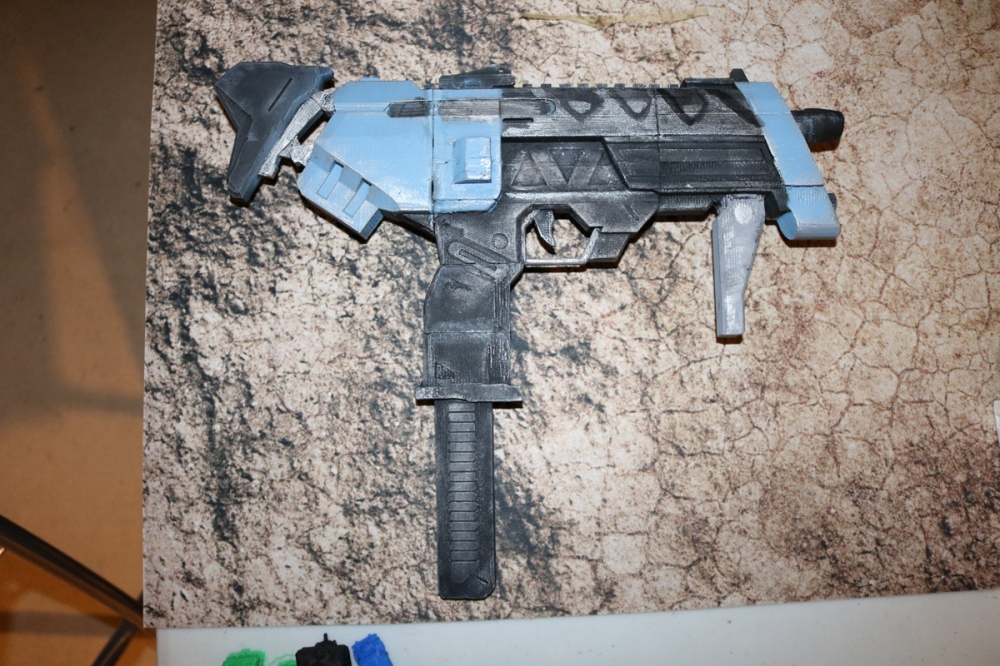
An Overwatch gun used by Sombra. It was my daughters first print. You can tell she rushed it by not spending more time smoothing out the surface.
Important tips:
- Get an enclosure. It will keep the heat even in the print area to prevent separation.
- Purchase higher quality filament. I have seen with lower quality does
- Learn as much as you can about the process
- Clean the bed area and sensors
- Update the firmware
A great video on using acetone for glue and smoothing your parts. Jay breaks it down, so it is really easy to understand.


Leave a comment